To accept crypto payments on WooCommerce, install the free Payora module, paste your API key and secret into the plugin settings, and register one callback URL — https://yoursite.com/?wc-api=payora — in your Payora dashboard. That is the entire setup. After that, a customer picks "Pay with crypto" at checkout, chooses a coin on a hosted payment page, sends it, and the WooCommerce order flips from pending to paid on its own when the signed webhook reaches your server. No card processor, no merchant account, no cut taken out of the sale.
What happens when you accept crypto payments on WooCommerce
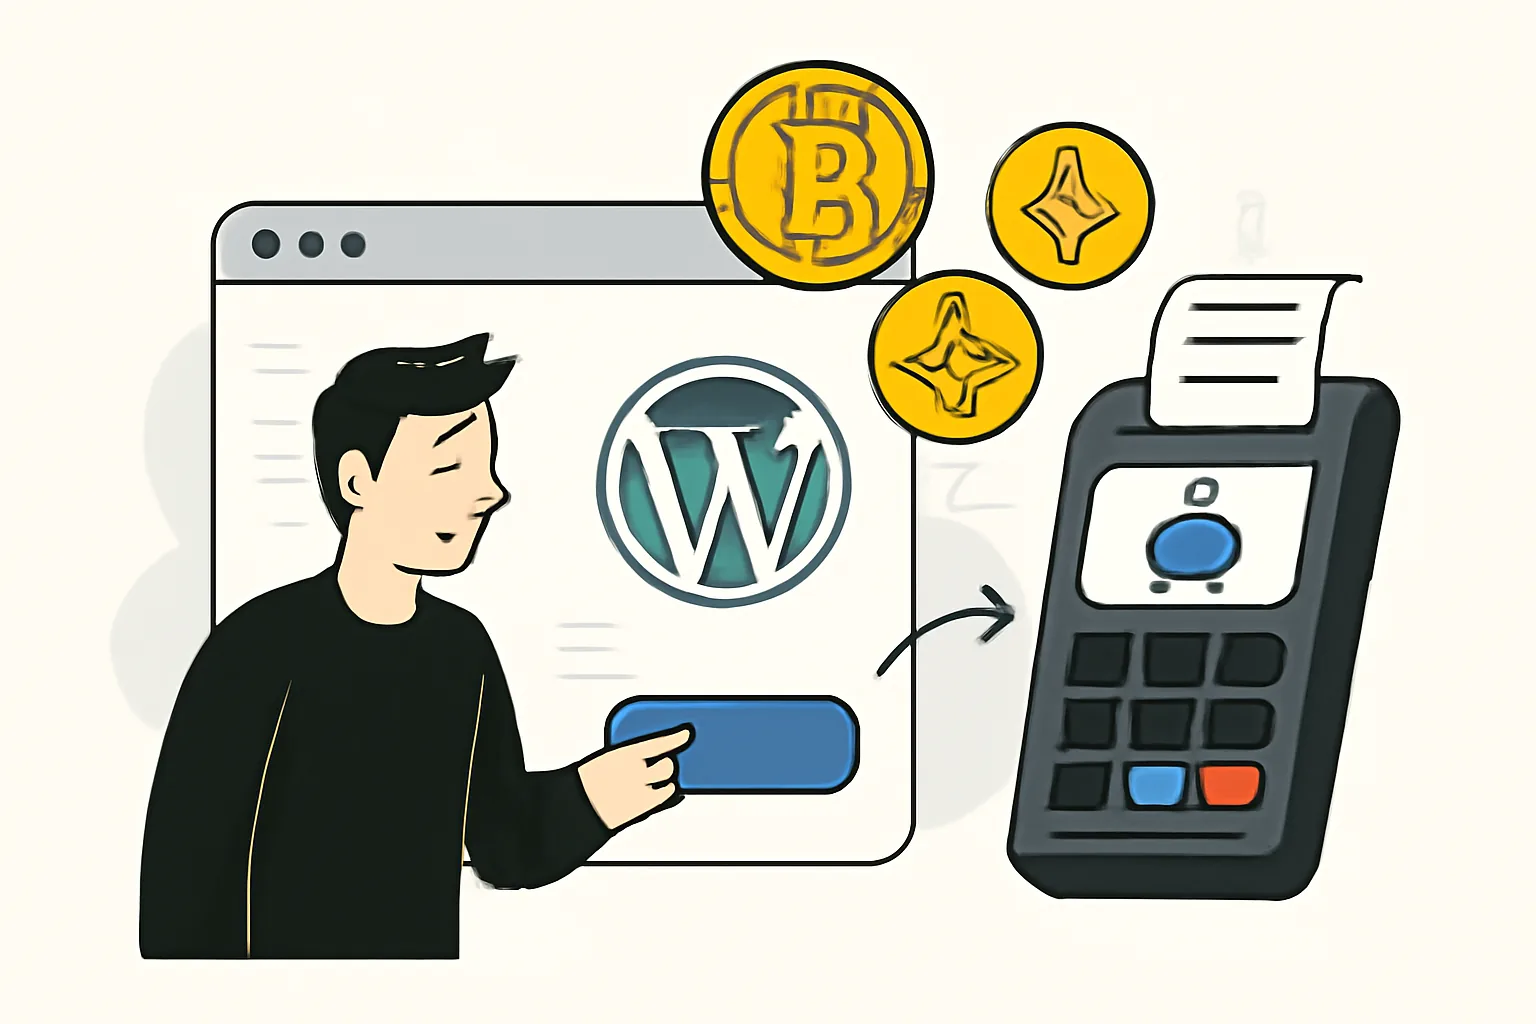
WooCommerce treats Payora like any other payment gateway: it appears under WooCommerce → Settings → Payments as a method you can rename to whatever your buyers understand. When someone selects it and clicks Place order, three things happen:
- WooCommerce creates the order in
pending. Nothing is paid, nothing is shipped. - The module calls the Payora API server-to-server with the order id and the cart total in your shop currency, and gets a hosted checkout URL back.
- The buyer is redirected there, picks a coin, and sees a fixed amount, an address, a QR code and a rate-lock countdown.
The buyer never types a card number, and your WordPress install never touches a private key. Quoting, address derivation and confirmation tracking happen off your box. Try the live demo first.
Installing the WooCommerce crypto payment gateway
The module is one of 22 free drop-in CMS integrations on the modules page. An ordinary plugin ZIP, no Composer.
- Create a free account and generate an
api_key/api_secretpair in the dashboard. Registration is free. - Download the WooCommerce ZIP from /modules, upload under Plugins → Add New → Upload Plugin, activate.
- Open WooCommerce → Settings → Payments → Payora. Paste the key and secret, pick which coins to show, save.
- Back in the Payora dashboard, set this store's callback URL to
https://yoursite.com/?wc-api=payora. - Place a small real test order and pay it with something cheap, like USDT on Tron. Watch the status flip on its own.
The callback URL is the step people skip
Miss step 4 and everything looks perfect right up until it isn't. The buyer pays, the coins arrive in your wallet — and the order sits in pending forever, because nothing told WooCommerce the money landed. It is the most common setup mistake and it fails silently: no error, just orders that never progress. Set the callback before your first real sale, on your live domain over HTTPS, exactly as WordPress serves it.
Why the webhook marks the order paid, not the buyer coming back
The redirect back to your thank-you page is cosmetic — a confirmation for the shopper, nothing more. Buyers close tabs. Their phone rings mid-payment. They pay from a hardware wallet on a different machine than the one with the cart open, or broadcast the transaction and walk away while the network takes four minutes to confirm. If your shop treated the return trip as proof of payment, a share of paid orders would never be marked paid, and you would be finding them by hand in the support inbox.
So the module ignores the return as a source of truth entirely. Payora watches the chain, waits for that coin's finality rule, then POSTs a JSON body to your callback URL signed with HMAC-SHA256 over the raw payload, carrying a timestamp window and an idempotency key. It recomputes the signature with your api_secret, compares it in constant time, rejects anything outside the window, drops duplicate keys, checks the amount, then calls WooCommerce's payment_complete() — which moves the order forward, decrements stock and fires the customer email. The signature check is covered in the HMAC webhook write-up; the module does every step for you.
The practical consequence is the whole point: a customer who pays and closes the tab still gets their order.
Choosing which coins to offer
You decide which of 20+ assets across 9 networks appear on the hosted page. More choice is not automatically better; a wall of logos makes a first-time buyer hesitate. A sensible default:
| Asset / network | Cost to the buyer | Why include it |
|---|---|---|
| USDT on Tron (TRC-20) | Cents | The workhorse: stable, cheap, widely held. |
| USDT on TON (Gram) | Cents | Near-instant; the default inside Telegram wallets. |
| USDC on Base or Polygon | Cents | Cheap route for funds already on EVM. |
| USDT on Ethereum (ERC-20) | Dollars at peak | Larger orders, where gas is noise. |
| BTC | Varies with the mempool | Bitcoin holders who insist on paying in BTC. |
USDT-TRC20 and TON deserve the callout. A Tron USDT transfer usually costs the buyer cents; the same USDT on Ethereum at a busy hour can cost several dollars. On a €40 order that gap decides whether the cart converts, and the buyer pays the network fee either way, so they feel it. If your average order is small, put a stablecoin on a cheap network at the top — deeper comparison in the USDT networks guide.
Keep Bitcoin enabled anyway. It is slower and its fee floats, but customers who want to pay in BTC are firm about it. How long you make them wait is a confirmations question — see how many confirmations are safe.
Order statuses, HPOS and refunds
The status flow stays boring, which is what you want:
pending— invoice created; nothing sent yet, or not confirmed yet.on-hold— optional: seen on-chain, awaiting confirmations.processingorcompleted— webhook verified, order paid. Virtual and downloadable products jump straight to completed.cancelled— the invoice expired unpaid; stock is released.
The module is compatible with HPOS (High-Performance Order Storage, the custom order tables that are the default for new installs since WooCommerce 8.2) and with legacy post-based storage: it declares compatibility and uses the CRUD API rather than reading wp_postmeta directly, so it behaves the same either way. Block-based and classic shortcode checkouts are both supported.
Refunds are the honest trade-off of choosing to accept crypto payments on WooCommerce. Crypto has no chargeback, which is why payment fraud stops being your problem — but no button pulls money back out of the customer's wallet either. A refund is a payout you send to an address the customer gives you, from your balance, signed offline. A workflow change, not a blocker, but decide your policy before switching the gateway on.
Fees: 0% to accept
Payora takes 0% to accept a payment. That is the main reason to run it instead of a WordPress bitcoin plugin that quietly routes through a processor taking 0.5–1% of every sale. At €10,000 a month that spread is €50–100, every month, for work your server already does.
Fees apply only when you move money out: 1.5% on payouts, transfers and withdrawals to an external wallet on the Free plan, plus the coin’s network fee on a payout or a withdrawal (minimum withdrawal $50). Accepting is free. On-chain network fees are separate, always apply, and on the incoming leg are paid by the sender. Breakdown on pricing.
Where the money lands
By default, Payora credits each confirmed payment to your Payora balance. You can refund or pay out from that balance on your schedule, and approved direct-settlement setups can use merchant public key material — an xPub or a pool of offline-generated addresses — where that mode is enabled and supported. In that direct-settlement mode, private keys stay off the server and outgoing payouts are still signed offline.
For a shop owner that is operational, not ideological: WooCommerce and WordPress never need private keys, and your checkout still relies on signed webhooks instead of browser redirects. If you use approved direct settlement, the xPub/watch-only mechanics are explained in the xPub explainer.
What you need to run it
PHP 7.4 or newer — in 2026, every ordinary shared host — and nothing beyond what WordPress already requires. No Composer, no queue worker, no daemon. The module wraps a single-file, dependency-free PHP SDK; if you would rather call the plain-JSON REST API directly, that is documented in the docs.
One honest caveat: your server must be reachable from the internet for the webhook to land — trivially true for a normal shop, a real gotcha on staging behind HTTP auth.
If you already run a WooCommerce store, this is a ten-minute job with no monthly cost attached. Create a free account, paste your keys, set the callback URL and take a test order — then read up on hosted checkout, invoices and payment links on accept payments.


Comments