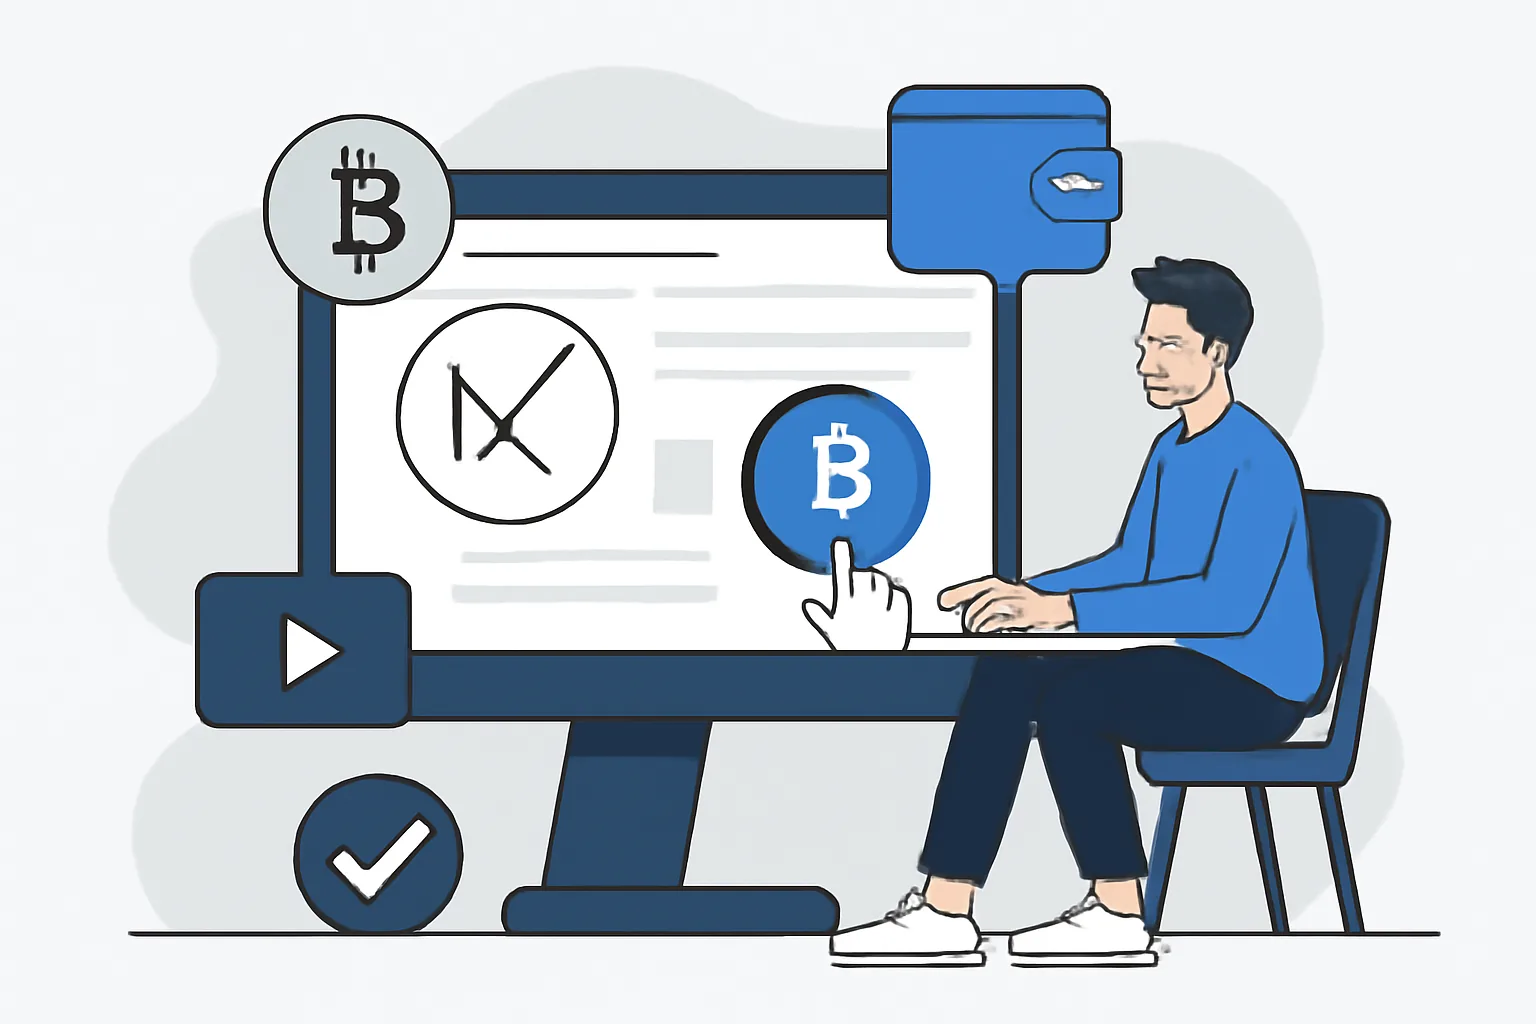
Understand the payment flow and requirements
If you want to learn how to accept crypto payments on a Next.js website, start with the flow, not the code. A crypto checkout usually has 4 parts: create an order, show a payment request, watch the blockchain, and mark the order as paid only after verification.
That sounds simple. It rarely is.
“Accepting crypto” on a Next.js site does not mean your app itself holds coins. In most cases, your site creates a payment request for a customer, the customer sends funds from a wallet, and a payment service or your own backend confirms the transfer. A good checkout also needs a timeout, because a quote that was fair at 10:00 may not be fair 20 minutes later.
You also need to know which networks and assets you will support. A store that accepts USDT on Ethereum, Polygon, and BNB Chain is not doing the same job as a site that only accepts BTC on one chain. Network choice affects fees, confirmation time, and the kind of wallet your customer needs. If you accept the wrong network, the payment can land where you cannot match it to an order.
There is one practical test here: can a first-time customer finish checkout in under 2 minutes? If the answer is no, the flow needs work. One wallet, one amount, one clear address, one clear status page. That is the level of clarity people expect.
Choose a crypto payment provider or wallet integration
You can build crypto checkout in 3 broad ways. First, a hosted checkout from a provider. Second, a direct wallet integration where your app talks to a wallet library. Third, a payment gateway that sits between the user and the chain. Each option has a different setup cost, and the right answer depends on whether you want speed, control, or both.
A hosted checkout is usually fastest to ship. You create an invoice, send the customer to a hosted page, and the provider handles payment detection. A direct wallet integration can feel tighter inside your product, but it usually means more code, more edge cases, and more responsibility for confirming payments. A gateway sits in the middle and is often the practical choice for commerce because it can create invoices, track confirmations, and expose webhooks.
Check 5 things before you choose: supported coins, supported chains, webhook support, invoice expiry, and how much backend code the provider expects you to write. If you are comparing options for a store, the crypto payment gateway for ecommerce guide is a useful place to start because it frames the same decision from a seller’s point of view. A freelancer billing clients may care more about invoices and payment links than a storefront does, which is why the crypto payment gateway for freelancers angle matters too.
One aside: if a provider claims support for “all major assets,” ask for a precise list. “All” is vague. “BTC, ETH, USDC on 3 networks” is a decision you can actually act on.
Set up your Next.js project for payments
Start with a clean app structure. In a Next.js app router project, put payment logic in server routes or server actions, and keep secret keys off the client. A simple layout might include 1 product page, 1 checkout form, 1 API route for creating invoices, and 1 webhook route for payment events.
Your environment variables should cover the payment provider secret key, webhook secret, and public API values that can be exposed in the browser. Do not place the secret key in a client component. That mistake can break the whole account, and it is one of the few errors that gets expensive fast.
If your provider offers an SDK, install it in the server layer only. If it gives you plain HTTP endpoints, that works too. The main idea is the same: the browser asks your Next.js backend to create a payment request, and the backend talks to the provider. The browser should never decide that an order is paid.
For teams moving from card payments, the structure is not very different from a Stripe flow, just with different verification steps. If that comparison helps, read how to migrate from stripe before you map out the API routes. One API route is enough for a prototype; 3 or 4 routes may be better once you add retries, refunds, and order status history.
Create the checkout UI in Next.js
The checkout UI can be a product card, a cart page, or a simple button that starts a payment. In a Next.js client component, the button usually sends the order details to your server route, waits for a response, and then redirects the customer or renders wallet instructions.
Keep the form short. Product name, amount, email, and maybe an order note are often enough. If you ask for 9 fields, expect more drop-off. If you ask for 3, people finish faster. A checkout that takes 30 seconds feels better than one that takes 3 minutes, even when both end with the same payment.
For a payment button, the user action should be obvious: “Pay with crypto.” Not “Continue” or “Proceed.” Those labels hide the cost of the next step. When the button is clicked, call your backend, get the payment request, then show the wallet address, QR code, and amount in the same view.
One useful pattern is to keep the order summary visible while payment instructions load. That way the customer sees the exact item and the exact amount together. It reduces confusion when the payment value is fixed in USD but paid in a volatile asset.
Generate payment addresses, invoices, or payment links
Every order should map to 1 unique payment request. That can be a wallet address, a payment link, or an invoice object from your provider. Reusing the same address for every customer makes reconciliation messy, and it can create support work you do not want.
For a small store, you might generate a fresh address per order and store the address, expected amount, asset, and expiration time in your database. For a provider-based flow, the provider may return an invoice ID and a hosted payment link instead. Either way, tie the payment request to the order ID before the customer sees it.
Show the customer the details in plain form: asset, chain, amount, and destination. A QR code helps, but it should not replace text. Some wallets scan QR codes poorly; some users copy and paste manually. One clear address is still the safety net.
If you need to support address-based billing for services or invoices, the patterns are similar to the ones in the crypto payment gateway for freelancers article. A payment link is often easier for one-off orders; a dedicated invoice record is better when you need payment history and reminders.
Confirm blockchain payments and update order status
Payment confirmation is where many teams get sloppy. Do not mark an order as paid when a wallet shows a pending transfer. Do not trust the browser alone. Your backend should verify the transaction by checking the chain directly or by receiving a signed webhook from the payment provider.
The usual flow is simple. The provider detects the payment, sends a webhook to your Next.js route, and your server verifies the signature before changing order status. If you are implementing that step yourself, you need to check the transaction hash, destination address, asset, amount, and the confirmation count required by your policy. A payment can look real before it is final.
Use a 3-state order model: pending, confirmed, paid. Pending means the request exists. Confirmed means the chain saw the payment and it has enough confirmations. Paid means your app has updated fulfillment or access control. Keep those states separate, because a support agent needs to know whether a customer is waiting, verified, or already delivered to.
If webhooks are part of your stack, validate them every time. The article on how to verify payora signed webhooks is useful even if you are not using PHP, because the core idea is the same: reject messages that do not prove they came from the provider. That one check can stop fake paid events cold.
Handle edge cases, security, and testing
Crypto checkout fails in more ways than card checkout. A quote can expire. A customer can send funds on the wrong network. A wallet can underpay by a small amount. A browser can refresh halfway through. Each one needs a response, and each one should point the user to 1 next step.
Expired quotes should not sit in limbo. If a payment link has a 15-minute validity window, show that timer clearly and create a fresh request when it expires. Wrong-network transfers need a support path, because the money may exist but not where your app expects it. Underpayments can be accepted, rejected, or flagged for review, but your policy should be written before launch, not after the first complaint.
Security is not optional. Keep secret keys in server-only environment variables. Verify webhook signatures. Store the minimal payment data you need. If you log transaction IDs, mask anything sensitive that is not needed for debugging. Test on testnet or with provider sandbox tools before live traffic. If you want a practical checklist, see how to test a crypto payment before you connect a real wallet.
Do not forget duplicate events. Some providers retry webhooks, and chains can surface the same payment more than once in your system if you are careless. Your order update code should be idempotent, which means the same event does not mark the same order as paid twice. That one line of defense saves hours.
Launch, monitor, and improve the checkout experience
Deployment on Vercel or a similar host usually works well for Next.js, but the payment parts still need attention. Make sure your webhook endpoint is publicly reachable, your environment variables are set in production, and your build does not depend on values that only exist locally. A payment route that works on your laptop and fails in production is a classic mistake.
Logging matters here. Log invoice creation, webhook receipt, verification results, and status changes. Use enough detail to trace a single order from start to finish, but do not dump secrets into logs. If a customer says they paid at 14:32, you should be able to find the matching event in seconds, not hours.
Small UX changes can lower friction more than people expect. Show the amount twice: once in the order summary and once in the payment step. Keep the payment button visible after the invoice loads. Add a copy button next to the address. Display the confirmation step plainly, because users often refresh the page while they wait. A 5-second status update can feel like 5 minutes if the page is silent.
From here, the real work is not the first payment. It is the second, the third, and the one that fails at the boundary between a wallet, a chain, and your Next.js backend. If your system can handle those 3 cases cleanly, you have a checkout customers can trust.

Comments