How “Crypto Payments on a Static Site” Works
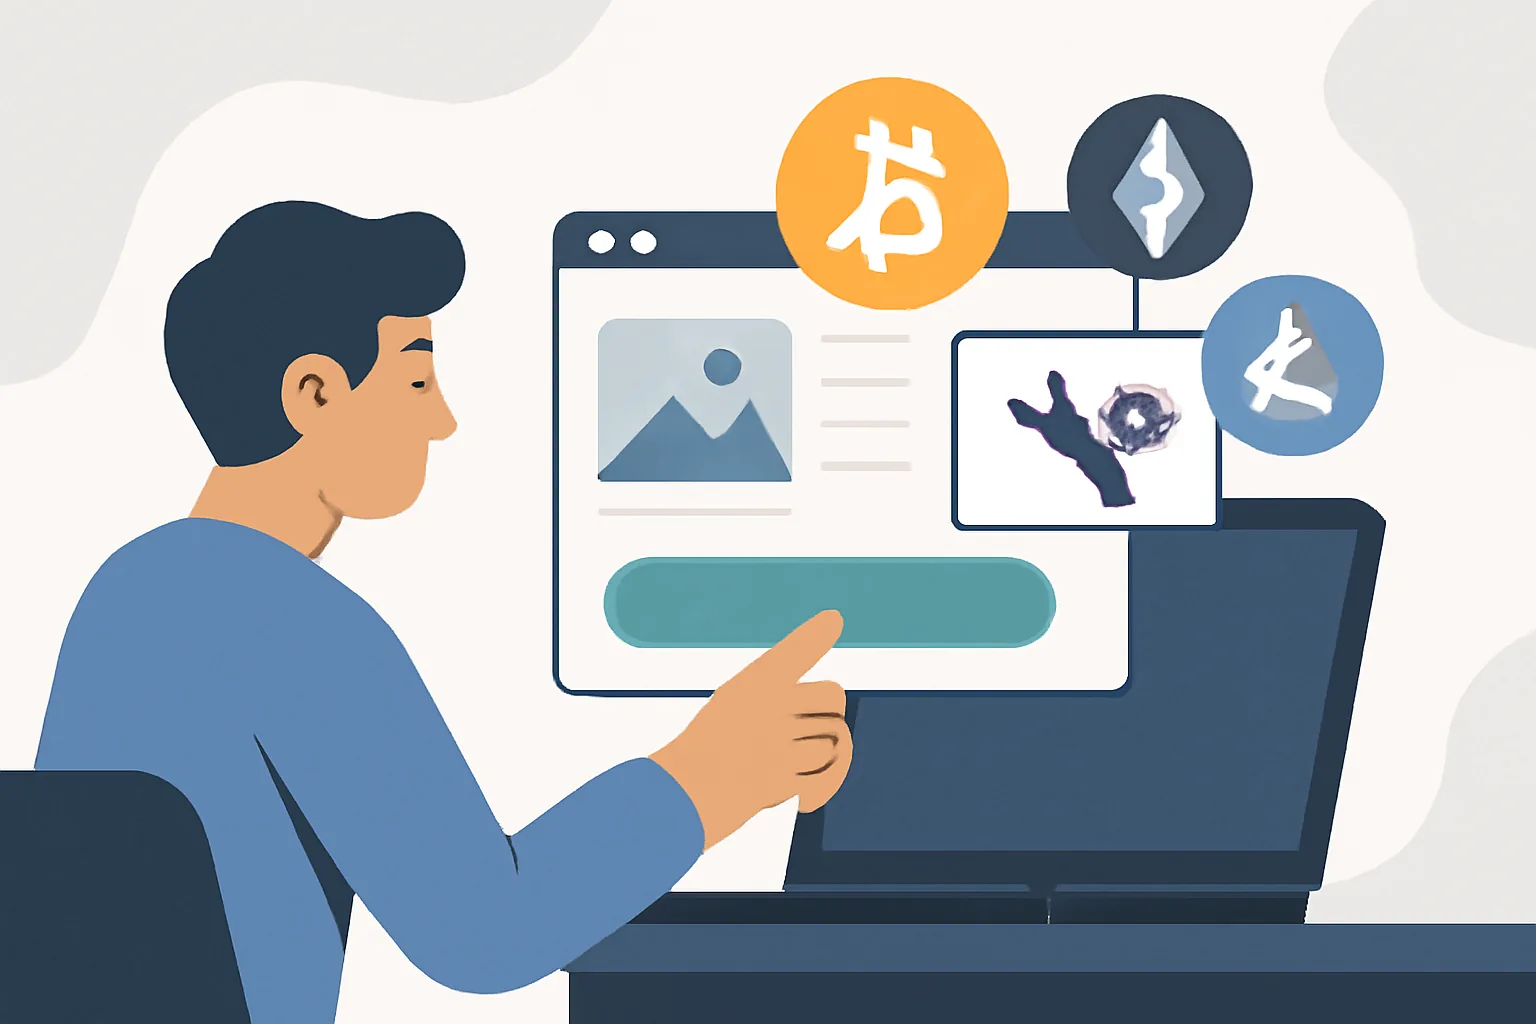
Accepting crypto on a static site means your pages are plain files, usually HTML, CSS, and a little JavaScript, while the payment step happens somewhere else. If you are learning how to set up crypto payments on a static HTML website, the basic pattern is the same: a visitor clicks a button on your page, then the payment provider handles the wallet address, amount, confirmation, and receipt. That separation is the whole trick.
A static HTML website does not run server code on your own hosting. There is no database login on the back end, no custom checkout logic sitting on your server, and no PHP script quietly waiting for payment data. The site can still sell a product, accept a donation, or collect a fee, as long as the payment flow is handled by a service that can work from plain pages.
There are usually three setup options. You can show a direct wallet address, send people to a payment link, or send them to a hosted checkout. Each one can work, but the amount of manual work changes fast once you have more than 1 product or 1 price.
A direct wallet address is the simplest on paper. It can also be the messiest in practice, because you must tell the buyer the exact amount, check the chain for the transfer, and match the payment to the order yourself. Fine for a tip jar. Less fine for a store with 12 items.
Choose the Right Payment Flow for Your Website
For a small site, the payment flow matters more than the coin list. If you are selling one digital file, a payment link might be enough. If you need order numbers, receipts, and a predictable checkout step, a hosted checkout is often the easiest option for a static site.
Payment links sit in the middle. The link can open a ready-made payment page that already knows the amount and currency, so your page only needs one button or text link. That keeps the HTML simple, and simple matters when your whole site is 6 pages and one form.
Hosted checkout is the cleanest fit for many static HTML websites because the provider handles the tricky parts. The buyer sees a dedicated checkout page with the amount prefilled, and your site does not need to calculate totals or manage wallet calls. You still need to test it, though. Every time.
Direct wallet payments should be used with care. They are fine for donations or one-off invoices where you can manually confirm payment, but they are a poor match for product sales if the order needs automatic confirmation. If you want to read more on choosing a flow for store payments, see the crypto payment gateway for ecommerce guide.
Prepare Your Static HTML Website for Payments
Start with the page where the buyer makes the decision. That is usually a product page, pricing page, donation page, or contact page with a “Pay with crypto” button. If you are figuring out how to set up crypto payments on a static HTML website, put the payment action near the price, not hidden in the footer where nobody looks. One click beats three.
On a static site, the files you edit are usually the actual HTML pages, plus one CSS file if you want the button to match the rest of the design. If the payment provider gives you a script or embed snippet, that may go into the same HTML file or into a shared template file, depending on how your site is built. No server changes. No database migrations.
A basic page often needs only 3 edits: a visible button, a link destination, and a short note about which coins are accepted. If the provider supports multiple currencies, list them clearly. “USDT, BTC, ETH” is concrete. “Many options” is not.
Place the payment button where the buyer already has context. A product page should show the price first, then the button, then any note about confirmations or processing time. A donation page can place the button above the form, because most donors decide quickly and do not need a long pitch.
If your site has 10 static pages, you do not need to change all 10. Edit the pages that actually take money. That usually means 1 to 3 files, unless your site repeats the same pricing box everywhere.
Set Up a Crypto Payment Provider Account
Pick a provider that supports your coin list, your payout method, and your preferred checkout style. Sign up, verify the account if required, and connect the wallet or settlement method where funds should end up. Some providers pay straight to a wallet. Others settle to a merchant balance first, then send funds later.
During setup, configure the currencies you want to accept. If you only want 2 coins, say so. If you want stablecoins for simpler pricing, set that up before you publish the page, not after the first customer asks why the amount changed between checkout and payment.
Most providers let you create a hosted checkout page or a payment link after the account is active. That page usually includes your business name, logo, accepted currencies, and a fixed or editable amount. Keep the checkout name aligned with the website name. A buyer should not see “Demo Store” if your site says “North Bay Prints.”
If the provider asks for webhook settings, notifications, or invoice preferences, fill them in now. Those settings decide whether your site gets payment status updates and whether a customer sees a receipt. A missed webhook can leave an order stuck in limbo for 1 hour or 1 day, depending on the system.
For security and release checks, it helps to read crypto payment security best practices before you publish anything public.
Add the Payment Button or Checkout Link to Your HTML
Once the provider gives you code or a link, copy it exactly. If it is an embed script, place it where the button should appear inside the HTML file. If it is a plain URL, wrap it in an anchor tag and label it clearly, such as “Pay with crypto.” Short. Direct. Hard to miss.
A simple HTML button can look like a standard link styled by your site’s CSS, while a hosted checkout link can open in the same tab or a new tab, depending on your preference. New tab can help users keep the product page visible. Same tab can reduce confusion if the checkout page is long. Pick one, then test the click path on mobile and desktop.
If the payment provider gives you an embed block, place it inside the section that explains the purchase. Do not bury it in unrelated content. A buyer should not have to scroll past 600 words of company history to find the button that pays you.
For a static HTML website, the file change is usually small, but the result depends on placement. Put the button too high and people may click before they understand the price. Put it too low and they leave. The middle of the page is often safer, especially when the product has a fixed amount.
Here is the practical pattern:
- Open the HTML file for the page that takes payment.
- Paste the provider’s link or snippet in the payment section.
- Check the button text on desktop and mobile.
- Confirm that the link points to the correct hosted checkout.
- Save and deploy the updated file.
If you are also collecting invoices from clients, the setup can look very similar to a freelancer flow, so this crypto payment gateway for freelancers guide may help with the wording and link placement.
Test the Full Payment Journey Before Going Live
Do not publish blind. Run at least 1 test payment from the page, then watch the whole journey: click, checkout load, wallet prompt, payment confirmation, redirect, and notification. If any step breaks, you want to see it before a real customer does.
Testing should cover the exact path a buyer will use. If the button opens a hosted checkout in a new tab, test that. If the checkout runs inside the same tab, test that too. If your confirmation page says “Thanks, order received,” check that the page appears after payment and not before it. A broken redirect can cost you a sale and a support email.
Look for 4 things during testing: the amount, the currency, the destination wallet or merchant account, and the final status message. One wrong digit in the amount is enough to create a support problem. One wrong address is worse.
Notifications matter as much as the payment itself. A test order should trigger any email, dashboard alert, or webhook-based receipt that your provider offers. If your business depends on fast order handling, compare the payment page with the notification setup in how to test a crypto payment.
If your provider has a test mode, use it first. If it does not, use the smallest allowed live payment for a dry run, and record the transaction ID so you can check the records later. That extra minute can save an afternoon.
Go Live, Monitor Payments, and Handle Common Issues
After testing, publish the updated HTML files to your hosting platform. On a static site, that might mean pushing a git update, uploading files through a dashboard, or replacing the current page on a CDN. The payment flow does not change just because the site is live, so the checkout should behave the same way you saw in testing.
Once live, check the first few payments manually. Confirm that the payment record appears in your provider account, that the amount matches, and that the status changes from pending to confirmed when the network says it should. Crypto payments can take a few minutes, and sometimes longer, depending on the chain and fee settings.
Common issues are boring, which is good. A button points to the wrong link. A checkout page shows the wrong currency. A buyer sends the wrong amount. A receipt email goes to spam. Each one has a fix, but only if you notice it.
Keep a small routine for the first week: review new orders each day, check failed payments, and compare payouts against the order list. If you are handling several payment types, a crypto payout ledger can help you keep the records straight without turning the job into a spreadsheet marathon.
Some teams also keep a note with the exact page name, checkout link, provider account, and currency settings. That way, if the checkout needs to be updated 2 months later, you are not hunting through old emails for the original link. Small habit. Big time saver.
For a buyer, the experience should be simple: click, pay, wait for confirmation. For you, the work is mostly setup and checking. Once the static HTML website is wired to the payment provider, changes are usually just 1 file, 1 link, or 1 button edit, which is exactly why static sites are still a practical choice for taking crypto payments.


Comments